Almost everyone these days has an iPad at home. It is convenient to have one because an iPad is smaller than a laptop and bigger than a smartphone, giving it the perfect size. You can easily carry it around wherever you go, and complete the tasks you can’t do on a smartphone.
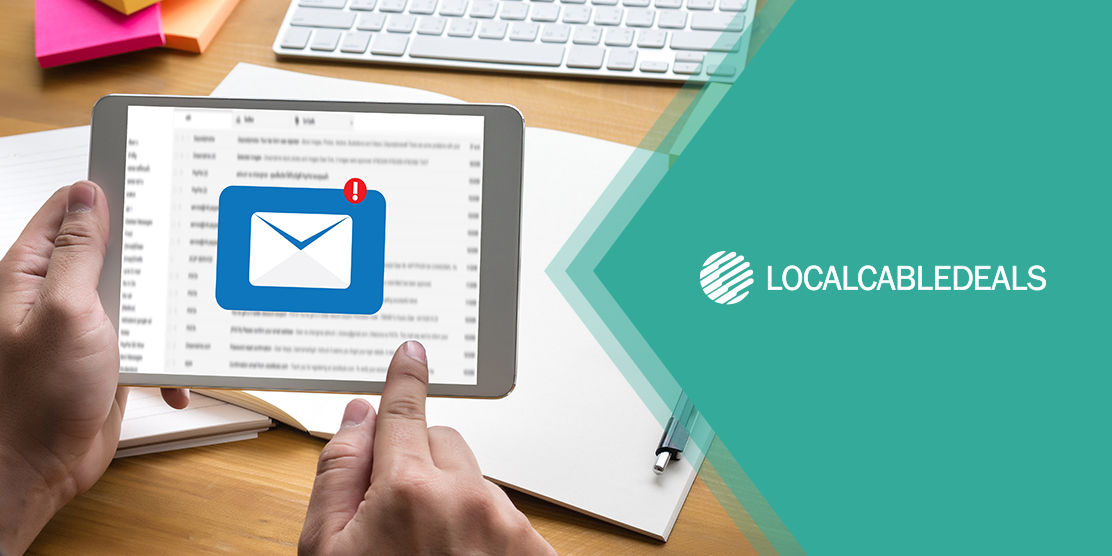
Did you know that you can set up your Xfinity email on your iPad, as well? Yes, it’s entirely possible to receive all the important updates regarding Xfinity and its services via email on your iPad, so you don’t have to open your computer every time. This blog shows you how to set up Xfinity email on iPad. Read on to find out.
How to Connect your Xfinity Email to your iPad?
Connecting your Xfinity email to your iPad is just a matter of a few taps. Make sure to keep your login information handy before you continue. To set up your email on the iPad, follow these steps:
- On your iPad, open Settings. Then, navigate to the Mail menu, and proceed to Accounts.
- Select Add Mail Account.
- Find Comcast Xfinity in the list of email providers. If you find it, enter your email account information and save it. If you don’t see Xfinity listed there, move to the next step.
- When you are asked which type of account you would like to add, tap Other.
- After that, you will have to enter your account information, which includes your name, email address, password, host name and description. You will also see your outgoing email settings, which include your host name, username and password. Once you’re done, tap Next.
- Let Mail connect your iPad to your Xfinity email server.
- Finally, hit Done to save your email settings. Now that your Xfinity email has been added, you can see your emails being loaded on your iPad.
Configuring your Xfinity Email on your iPhone
Not only can you set up Comcast Xfinity email on your iPad but you can also access it on your iPhone. This makes things a lot more convenient as you would have your iPhone and iPad all synced up. Here is the process to configure your Xfinity email on your iPhone:
- Tap the Settings icon on your iPhone.
- Scroll down to Mail and open it.
- Tap Accounts > Add Mail Account.
- Find Xfinity email in the list of email providers. If you can’t, tap Other.
- Add your credentials in the space provided under New Account and tap Next.
- Your iPhone will then save your information and verify it and once that is done, your Xfinity email will be successfully configured.
- Finally, tap Save. You can now send and receive your Xfinity emails on your iPhone!
BONUS: How to Change your Xfinity Email from POP to IMAP on an iPad?
This part deals with the process through which you can switch your email from POP to IMAP on an iPad. However, this can only take place if you have already set up your email through POP initially. Here is the process to change your Xfinity email from POP to IMAP.
At the start, you will have to follow the pre-setup process. In this process, you have to go to the Account Settings menu, scroll to the Incoming Settings, and make sure that the Delete from Server option has been set to Never. After you are done, you can proceed to change your email from POP to IMAP in the following steps:
- Select the Add Mail Account option in the Other window, enter your Comcast email details in the pop-up, and then, hit Next.
- In the follow-up window, titled IMAP, toggle both the ‘Mail’ and ‘Notes’ options to ON, and then hit Save. You’re all done!
Wrapping it up
Having the Xfinity email on your iPad makes things a lot smoother since an iPad is one of the most convenient devices to have at hand. Now that this blog answers your question about how to set up Xfinity email on iPad, be sure to configure it as soon as you can. If you still have difficulties doing so, call the Xfinity phone number.